System
The TK-500 Router must be properly configured before use. This chapter describes the web-based configuration.
Preparation
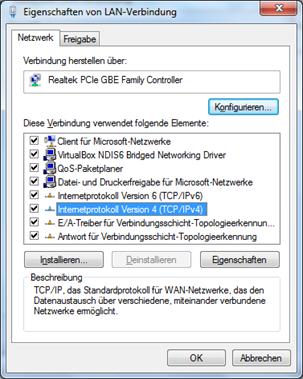
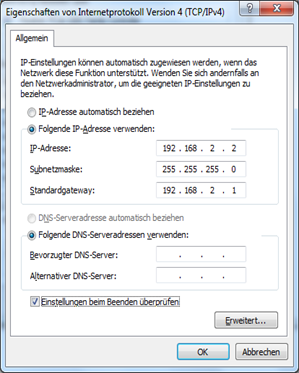
First connect your devices to the TK500 via cable or hub (switch) and set the IP address for the PC and TK500 in the same subnet, e.g.: set the PC IP address to 192.168.2.2, netmask: 255.255.255.0, gateway (default IP of TK500: 192.168.2.1):
Open an Internet browser and enter the IP address of the TK500: http://192.168.2.1 (default IP of the TK500).
On the following login page, you must log in as an administrator. Enter the user name and password (default: adm/123456).

Click on “Login” to open the configuration page.
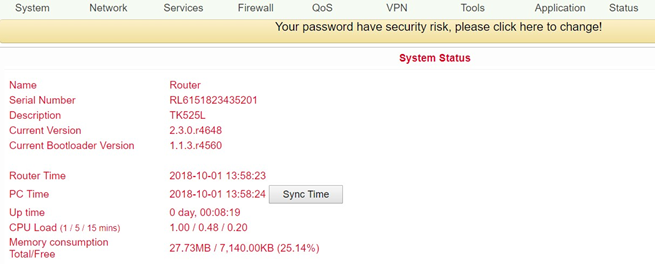
System
The system settings include the following ten areas: Basic Setup, Time, Serial Port, Admin Access, System Log, Config Management, Scheduler, Upgrade, Reboot and Logout.

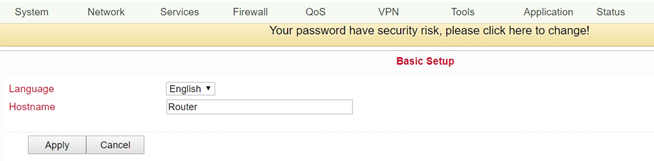
Basic Setup
In the Basic Setup you can change the language of the menu and the host name. This menu item can be accessed via System > Basic Setup.
Parameter name |
Description |
Default |
Example |
|---|---|---|---|
Language |
Set language for configuration page |
English |
English |
Host Name |
Host name of the TK500 |
Router |
My Router |
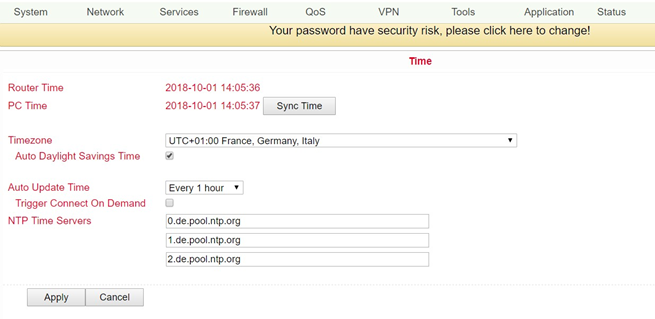
Time
In this menu item the system time of the router can be adjusted. It is also possible to set up a time server (NTP Time Server) to automatically keep the system time up to date.
Name |
Description |
Default |
|---|---|---|
Router Time |
Router time |
2017-08-01 16:00:00 |
PC Time |
Time of the PC (or the time of the device connected to the router) |
The Sync Time button allows you to synchronize the time with the connected device |
Timezone |
Set time zone |
selectable time zone |
Auto Daylight Savings Time |
Automatic changeover: daylight saving time/winter time |
Disabled |
Auto Update Time |
Time of the automatic time update |
Disabled |
NTP Time Servers (after enabling the “Auto Update Time” option) |
Setting for NTP time server (maximum three entries) |
pool.ntp.org |
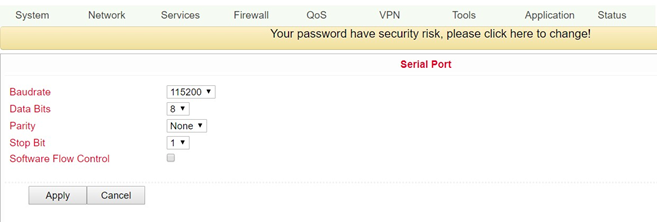
Serial Port
You can adjust the settings for the serial port of the router via the menu item System > Serial Port.
Name |
Description |
Default |
|---|---|---|
Baud Rate |
Serial baud rate |
115200 |
Data Bits |
Serial data bits |
8 |
Parity |
Set parity bit of serial data |
None |
Stop Bit |
Set stop bit of serial data |
1 |
Software Flow Control |
Software flow control |
Disabled |
Admin Access
In this area you can change or adjust important settings, such as the password of the administrator or the port assignment for access to the router. These settings can be reached via System > Admin Access.

Name |
Description |
Default |
|---|---|---|
Username/Password |
||
Username |
Username for login to the configuration page |
adm |
Old Password |
To change the password, it is necessary to enter the old password |
123456 |
New Password |
Enter new password |
|
Confirm New Password |
Enter new password again |
|
Management |
||
HTTP/HTTPS/TELNET/SSHD/HTTP_API/Console |
||
Enable |
Select to enable |
Enabled |
Service Type |
HTTP/HTTPS/TELNET/SSHD/HTTP_API/Console |
80/443/23/22/4444/Blank |
Local Access |
Enabled - Allow router to be managed via LAN (e.g.: HTTP). |
Enabled |
Remote Access |
Enabled - Allow the TK500 to be managed over WAN (e.g.: HTTP). |
Enabled |
Allowed addresses from WAN (Optional) |
Sets the range of allowed IP addresses for WAN |
Servers for control services can be specified, such as 192.168.2.1/30 or 192.168.2.1 |
Description |
Describe management parameters (without effect on the TK500) |
|
Non-privileged users |
||
Username |
Create user names without administrator rights |
|
Password |
Create password for user without administrator rights |
|
Other parameters |
||
Login Timeout |
Set log timeout, after this value connection with the configuration page is disconnected and you have to log in again |
500 Seconds |
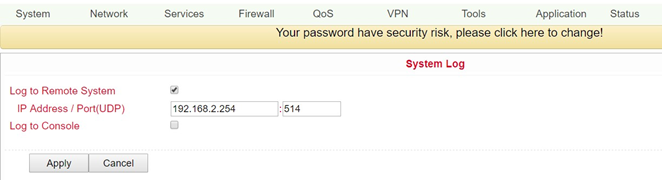
System Log
Setting options for logging log files. You can reach these via System > System Log.
Name |
Description |
Default |
|---|---|---|
Log to Remote System |
Enable remote log server |
Disabled (if enabled, IP address and port can be entered) |
IP Address/Port (UDP) |
Set IP address and port of the remote protocol server |
Port: 514 |
Log to Console |
Output of the log on the serial interface |
Disabled |
Config Management
Backup and import of router configurations, as well as reset to factory settings of the router and backup or restore the provider data. You can reach this menu item via System > Config Management.
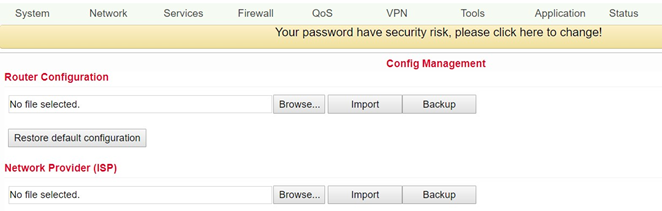
Name |
Description |
|---|---|
Router Configuration |
Upload/save configuration file for import/backup |
Restore default configuration |
Click to reset the TK500 (to activate the default configuration, the TK500 must be restarted). |
Network Provider (ISP) |
To import or save APN, username, password and other parameters from traditional operator. |
Browse |
Using the Browse button you can select the file with the settings to be uploaded via Import |
Scheduler
The scheduler is used to set the automatic reboot for the router. You can define the settings for this via System > Scheduler.
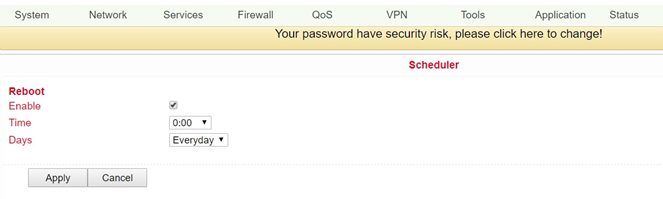
Name |
Description |
|---|---|
Enable |
Switches the Auto Reboot on or off |
Time |
Time at which the TK500 router is to be rebooted |
Days |
Everyday selection for daily restart |
Upgrade
In this area, the router provides you with an interface for updating the firmware. To be reached via System > Upgrade.
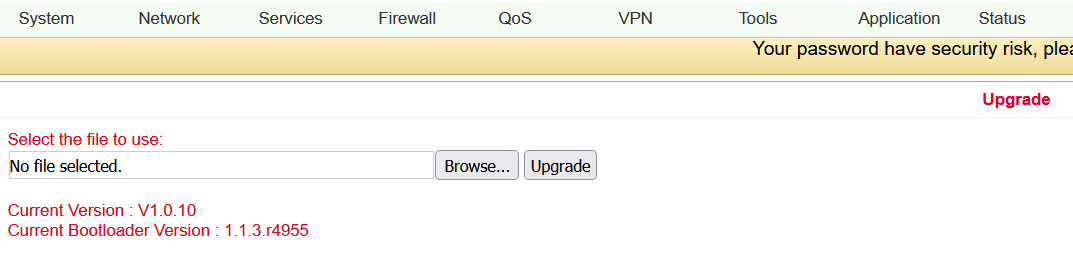
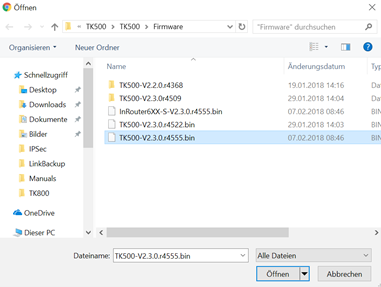
To update the system, select the update file (e.g. TK500-V2.2.0v4xxx.bin) in your file system via the Select_file_ button.
Click the “Upgrade” button and confirm the start of the upgrade

After successfully updating the firmware, click Reboot to restart the TK500.
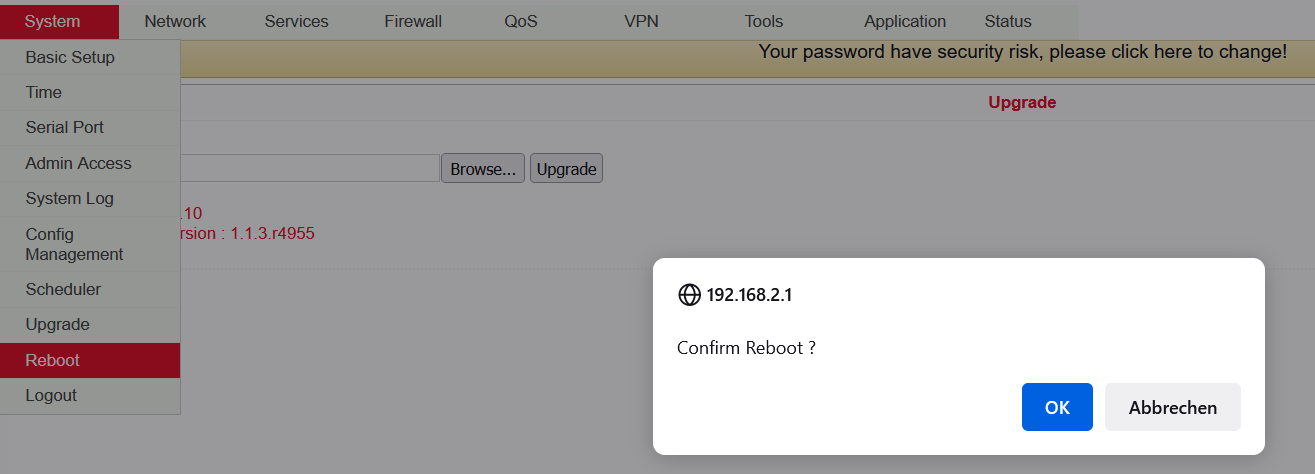
Reboot
If you need to reboot your router, select System > Reboot. Then click “OK” to reboot the system.
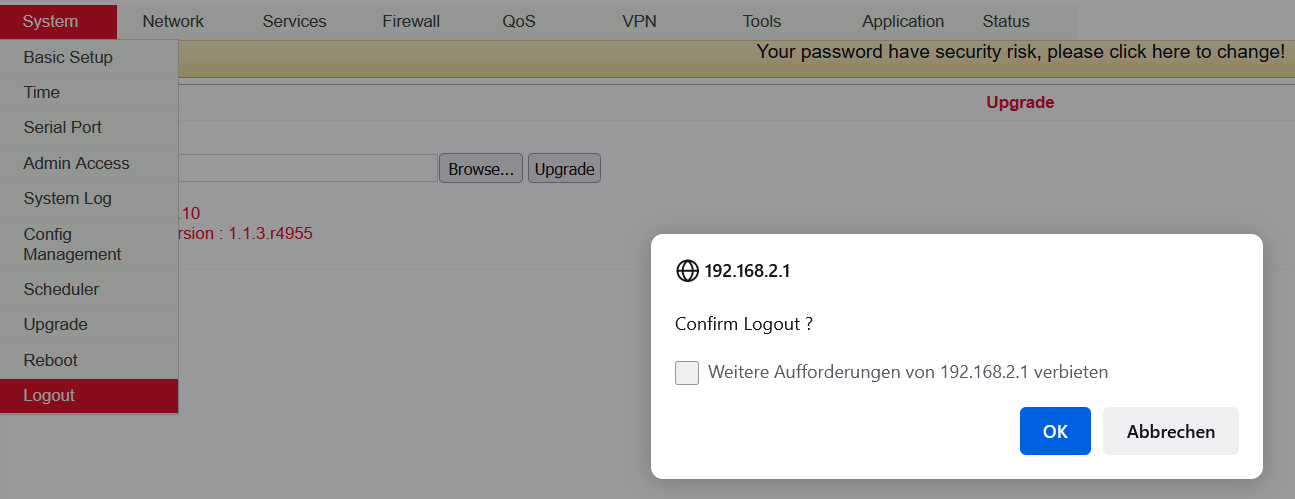
Logout
To log out of the system, click System > Logout and confirm the logout with “OK”.